

Photography Tips: How to Make Your Items Irresistible to Buyers
Koopel Team
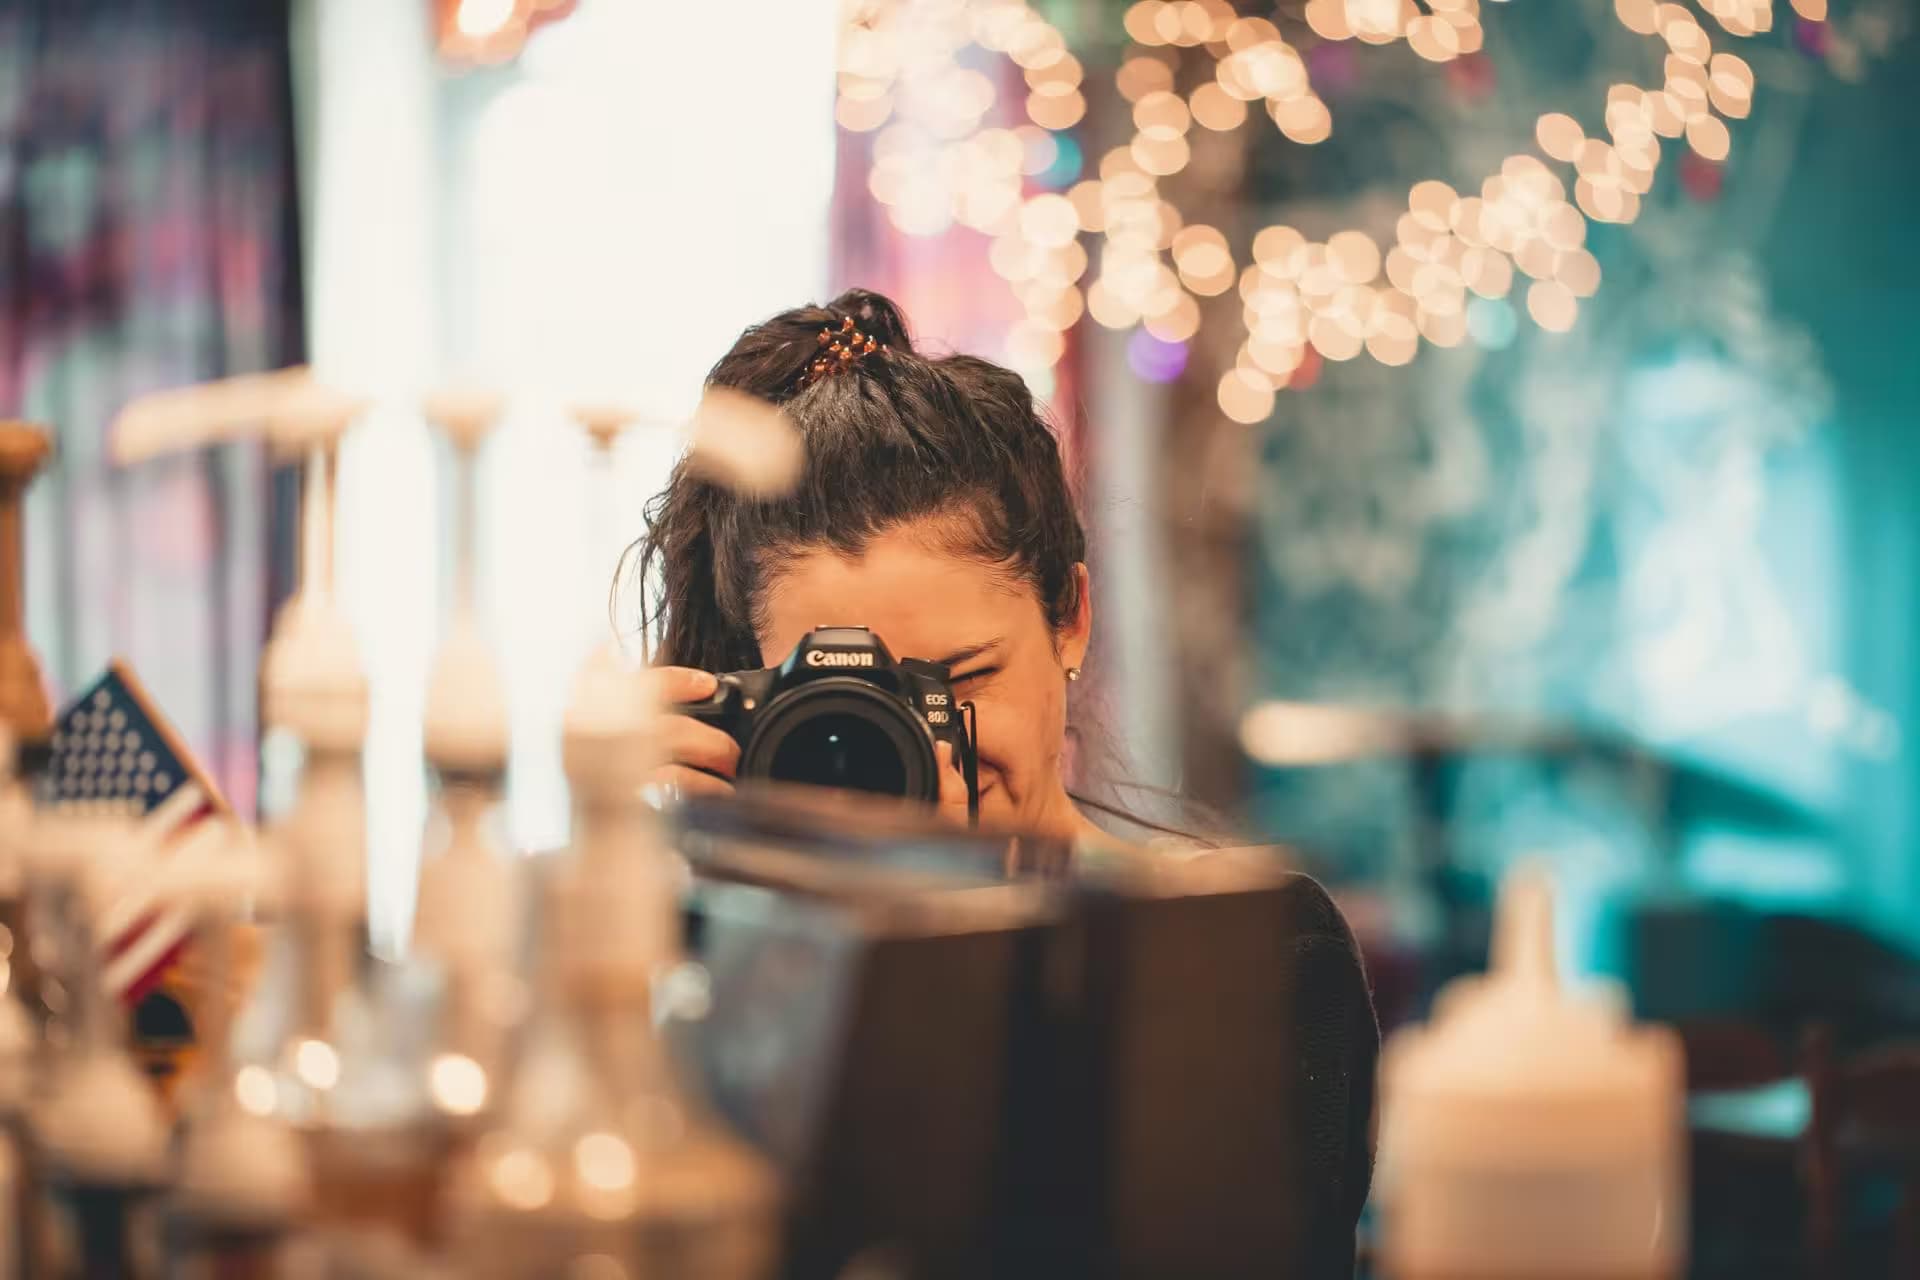
Great photos can mean the difference between a quick sale and an item that sits for months. Professional-quality photos build trust and showcase your items in their best light — and you don't need expensive equipment to take them. Ready to start selling on Koopel?
Equipment You Already Have
Your Smartphone is Enough
Modern smartphones have excellent cameras. The iPhone 12+ and Galaxy S21+ take photos that rival entry-level DSLRs. You don't need to invest in expensive equipment to take great product photos.
Essential (Free) Setup
| Item | Purpose | Alternative |
|---|---|---|
| Window | Natural light source | Any large light source |
| White posterboard | Clean background | White bedsheet |
| Phone tripod | Stability | Stack of books |
Lighting: The Secret to Great Photos
Use Natural Light
Position your items near a large window with indirect sunlight. The best times are:
- Morning: Soft, warm light (8-10 AM)
- Overcast days: Perfect diffused lighting
- Golden hour: 1 hour before sunset for warm tones
⚠️ Avoid: Harsh direct sunlight that creates hard shadows, and mixed lighting (natural + artificial) that causes color casts.
DIY Lighting Setup
If natural light isn't available:
- Place item on white surface near window
- Use white foam board on opposite side to reflect light
- Turn OFF artificial room lights (they create color casts)
- Use your phone's exposure lock for consistency
Essential Photography Techniques
1. Clean and Prepare Your Items
Before photographing, always:
- ✅ Clean thoroughly — remove dust, lint, fingerprints
- ✅ Iron clothing and remove wrinkles
- ✅ Polish jewelry and accessories
- ✅ Remove price tags (unless relevant)
- ✅ Fix any minor issues that can be fixed
2. Choose the Right Background
| Background | Best For | Avoid |
|---|---|---|
| Plain white | Electronics, products | Busy patterns |
| Wood texture | Vintage, artisanal items | Competing colors |
| Lifestyle setting | Clothing, home goods | Cluttered spaces |
3. Take Multiple Angles
Every listing should include:
- Front view — Main hero shot
- Back view — Show all sides
- Side profiles — Left and right
- Close-ups — Details, logos, tags
- Flaw photos — Any wear or damage
📸 Minimum: 5-8 high-quality photos per listing. More photos = more buyer confidence = faster sales.
Composition Tips
Fill the Frame
Make sure your item takes up most of the photo. Buyers want to see details clearly, not your living room in the background.
Use the Rule of Thirds
Enable the grid on your phone camera. Position your item along the intersecting lines for more dynamic compositions.
Show Scale
Include everyday objects to help buyers understand size:
- Coin for small items
- Hand for wearables
- Person for furniture
- Ruler for precise measurements
Common Mistakes to Avoid
❌ Poor Lighting
Dark, grainy photos suggest low quality and reduce buyer confidence. If your photos are dark, reshoot near a window.
❌ Cluttered Backgrounds
Busy backgrounds distract from your item and look unprofessional. Clear everything except your product from the frame.
❌ Too Few Photos
Buyers want to see every angle. Listings with only 1-2 photos get significantly fewer views and sales.
❌ Not Showing Flaws
Always photograph any damage or wear. Honesty builds trust and prevents disputes. Hiding flaws leads to returns and negative reviews.
❌ Wrong Colors
Ensure colors are true to life. Edit for accuracy, not enhancement — disappointed buyers leave bad reviews.
Advanced Techniques
Flat Lay Photography
Perfect for clothing, accessories, and small items:
- Lay items flat on clean surface
- Shoot from directly above
- Use natural light from the side
- Style with minimal props
Lifestyle Shots
Show items being worn or used to help buyers visualize ownership:
- Clothing on a person or mannequin
- Home goods in a styled room
- Electronics in use
Detail Shots
Capture texture, materials, and craftsmanship up close:
- Use your phone's macro mode
- Focus on unique features
- Show brand tags and authenticity markers
Quick Photo Editing
Built-in Phone Tools
Most phones have editing tools that can:
- ✅ Adjust brightness and contrast
- ✅ Crop for impact
- ✅ Correct white balance
- ✅ Sharpen slightly
What to Edit
| Edit | Purpose | Warning |
|---|---|---|
| Brightness | Make details visible | Don't overexpose |
| Contrast | Add depth | Keep it natural |
| Crop | Remove distractions | Don't lose important details |
| Color | Match reality | Never enhance to deceive |
The Bottom Line
Great photos don't just show what you're selling — they tell a story and help buyers imagine owning your item.
Time invested in photography = faster sales + higher prices
Practice with different items and lighting conditions. Study photos of similar items that sold quickly and notice what makes them appealing.
Ready to put these tips into practice? List your item on Koopel with stunning photos!
Share this article
Ready to start selling?
Put these tips into practice and list your first item on Koopel today.